시소당
[ Android Opengl es 2.0 ] Vertex배열을 이용하여 간단한 도형 만들기
안녕하세요.이번엔 Vertex배열을 이용하여 제가 그린 그림을 보여드릴려고 합니다.
private final float[] mVerticesData =
{
0.0f, 0.0f, 0.0f,
-0.5f, 0.5f, 0.0f,
0.5f, 0.5f, 0.0f,
0.0f, 0.0f, 0.0f,
1.0f, 0.0f, 0.0f,
0.5f, 0.5f, 0.0f,
0.0f, 0.0f, 0.0f,
0.5f, -0.5f, 0.0f,
1.0f, 0.0f, 0.0f,
0.0f, 0.0f, 0.0f,
-0.5f, -0.5f, 0.0f,
0.5f, -0.5f, 0.0f,
0.0f, 0.0f, 0.0f,
-1.0f, 0.0f, 0.0f,
-0.5f, -0.5f, 0.0f,
0.0f, 0.0f, 0.0f,
-1.0f, 0.0f, 0.0f,
-0.5f, 0.5f, 0.0f,
};
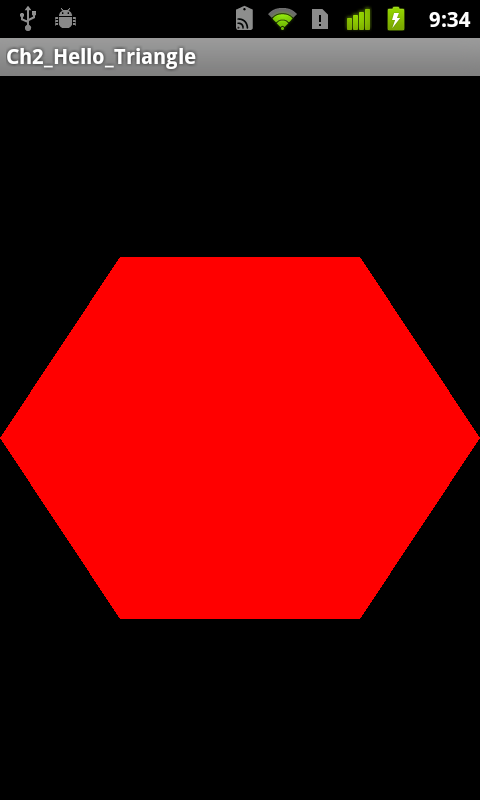
먼저 결과 화면을 보여드리겠습니다.
Vertex로직은 다음과 같습니다.

public void onTouchEvent(MotionEvent event){
switch(event.getAction()){
case MotionEvent.ACTION_UP:
if(drawType == GLES20.GL_TRIANGLES){
drawType = GLES20.GL_LINE_LOOP;
}else{
drawType = GLES20.GL_TRIANGLES;
}
break;
}
}
그릴 때 마다 drawType을 변형 시켜서, Touch를 할 경우에
선일 경우에는 꽉 채우는 형태로,
꽉 채워져 있으면 선으로 그려보았습니다.
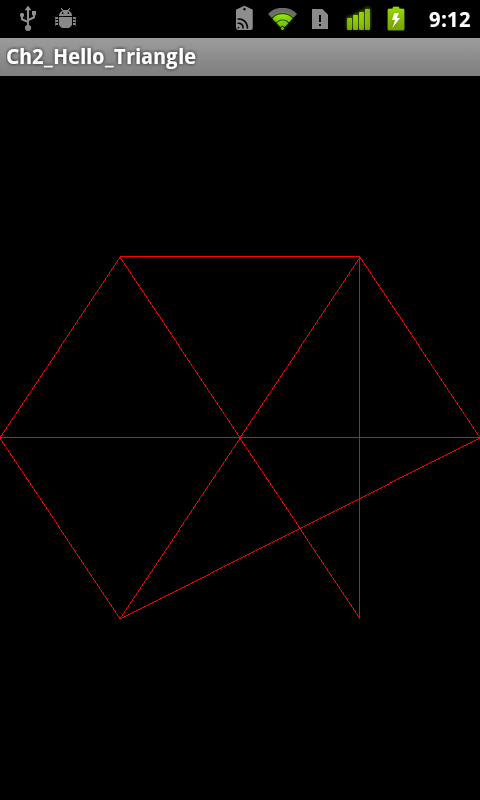
중요한 부분이 vertex의 순서를 잘못 하면 다음과 같은 결과가 날 수 있다는 것이지요.
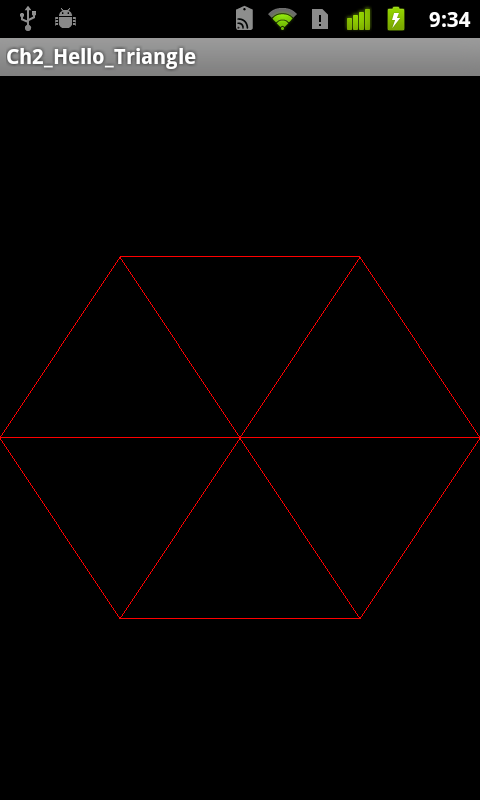
GL_LINE_LOOP일 경우는 저희가 예전 놀이로 많이 했던,
연필을 때지 않고 선 그리기 형태로 선을 계속 그린다고
생각하시면 됩니다.
이렇게 Vertex를 공책이나 연습장에 생각해서 그려보신 후,
이제 VertexShader에 적용을 시켜야하는데요.
[ mVerticesBuffer가 사용되기 전에 적용]
mVertices = ByteBuffer.allocateDirect(mVerticesData.length * 4)
.order(ByteOrder.nativeOrder()).asFloatBuffer();
mVertices.put(mVerticesData).position(0);
[ Drawing 하는 함수에서]
// Vertex 값은 시작이 0이요, 3단위씩 끊어져 있소, 값은 Float형태요.
// Float일 경우 false로 하지만, 만약 다른 데이터 형식일 때 true로 하면 normalize가 된다고 책있네요.
// 3단위로 읽고, 0만큼 건너 뛰겠소. (나중에 Vertex배열에 여러가지를 겸해서 설정할 수도 있습니다.)
// mVertices라는 ByteBuffer를 가지고 그리시요.
GLES20.glVertexAttribPointer(0, 3, GLES20.GL_FLOAT, false, 0, mVertices);
GLES20.glEnableVertexAttribArray(0);
// 배열형태를 그립니다.
// 총 배열의 Column 수는 18개 입니다.
// 3단위씩 18개로 되어있죠.
GLES20.glDrawArrays(drawType, 0, 18);
이렇게 간단하게 육각형을 그리는 연습을 해보았습니다.
이제 먼가 움직여도 보고 이것 저것 해볼려고 합니다.
Opengl es 1.0은 해봤는데.
먼가 2.0에서는 개발자에게 대한 자유도가 더 올라간 듯한 느낌도 들고,
이해하기가 더 복잡해 진것 같기도 하고..
아무튼!!!
공부해서 이해가 될 때 마다 글을 남겨둘까 합니다.
이 글이 많은 사람들에게 도움이 되면 좋겠습니다.
출처: http://gogorchg.tistory.com/entry/Android-Opengl-es-20-Vertex배열을-이용하여-간단한-도형-만들기